Convert Python to EXE (Windows) using PyInstaller - Step-by-Step Guide
Learn how to convert Python scripts to EXE on Windows using PyInstaller. Step-by-step beginner tutorial with commands, one-file options, troubleshooting, and common fixes.
Learn how to convert Python scripts into EXE files on Windows using PyInstaller. This step-by-step guide is beginner-friendly and focuses on practical commands you can run right away.
Game Funtastic (often searched as Gamefuntastic) created this tutorial for developers and beginners who want to package Python apps into a standalone executable.
What you will have at the end: a double-clickable .exe you can share—plus a clear mental model of pip, pyinstaller, and the dist output folder.
Last updated: April 2026
A quick honesty note: some antivirus tools flag freshly built PyInstaller executables as suspicious because the bundle contains a Python runtime. That is common for small indie tools. If your .exe gets flagged, you may need to allowlist it or submit it to your AV vendor—this is not a fault of your code, but it is something real users hit.
![]()
Python® and the Python logo are trademarks of the Python Software Foundation. See python.org/psf/trademarks.

Table of contents
- Install PyInstaller
- Convert Python script to EXE
- One-file vs one-folder mode
- Fix common errors
- Frequently asked questions
- Final thoughts
Before you start
You will need:
- A 64-bit Windows PC (most modern PCs).
- Permission to install Python for your user (admin rights are not always required).
- About 15–30 minutes the first time.
If anything below fails, jump to Troubleshooting—most issues are either PATH or wrong terminal.
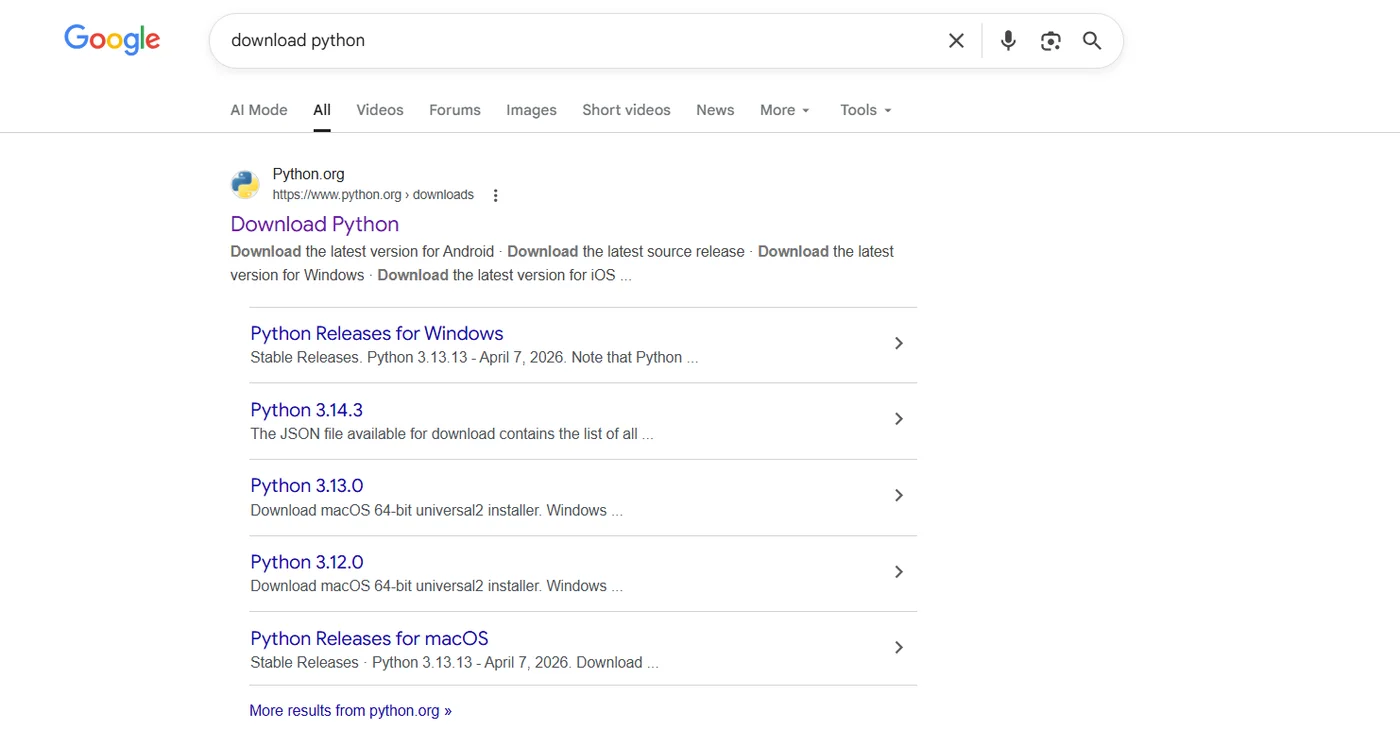
Step 1 — Download the official Python installer (64-bit)
Always download Python from the official site: python.org/downloads.
On the download page, choose the Windows installer (64-bit) if your PC is 64-bit (it almost certainly is). The screenshots below show the kind of installer you want.

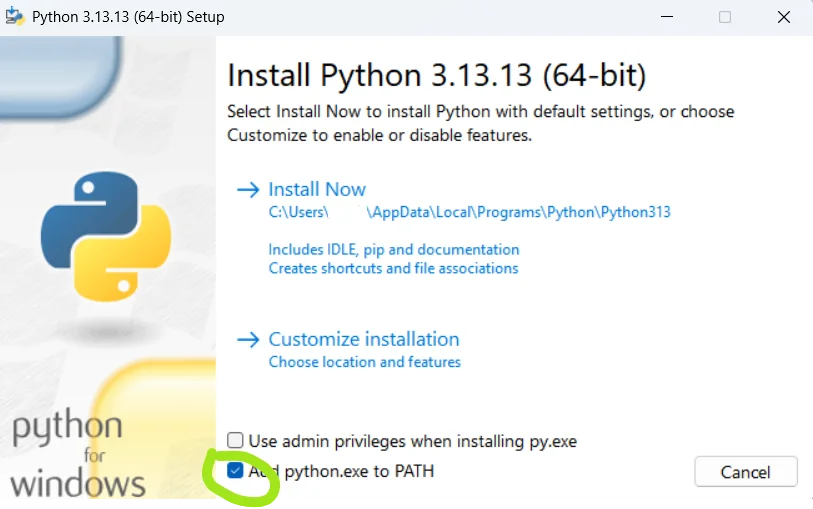
Step 2 — The most important checkbox: Add Python to PATH
When you run the installer, you will see an option like “Add python.exe to PATH” (wording varies slightly by version).
Turn this ON. This is the step most beginners miss—and then python “does not work” in Command Prompt.
If you already installed Python without PATH, you can either:
- Re-run the installer and choose Modify → enable PATH, or
- Add Python folders to PATH manually (more annoying). Re-running the installer is usually faster.
If you are not sure Python is installed yet, the python.org page also offers a clear Download / run-installer flow:
Step 3 — Confirm Python works in Command Prompt
Open Command Prompt (search cmd in the Start menu).
Go to a folder you control (your tutorial folder is fine). Then run:
python --version
If that fails, try:
py --version
On many Windows setups, the py launcher is the most reliable way to pick Python.
You should see a version line like Python 3.12.x. If you do, PATH is probably correct.

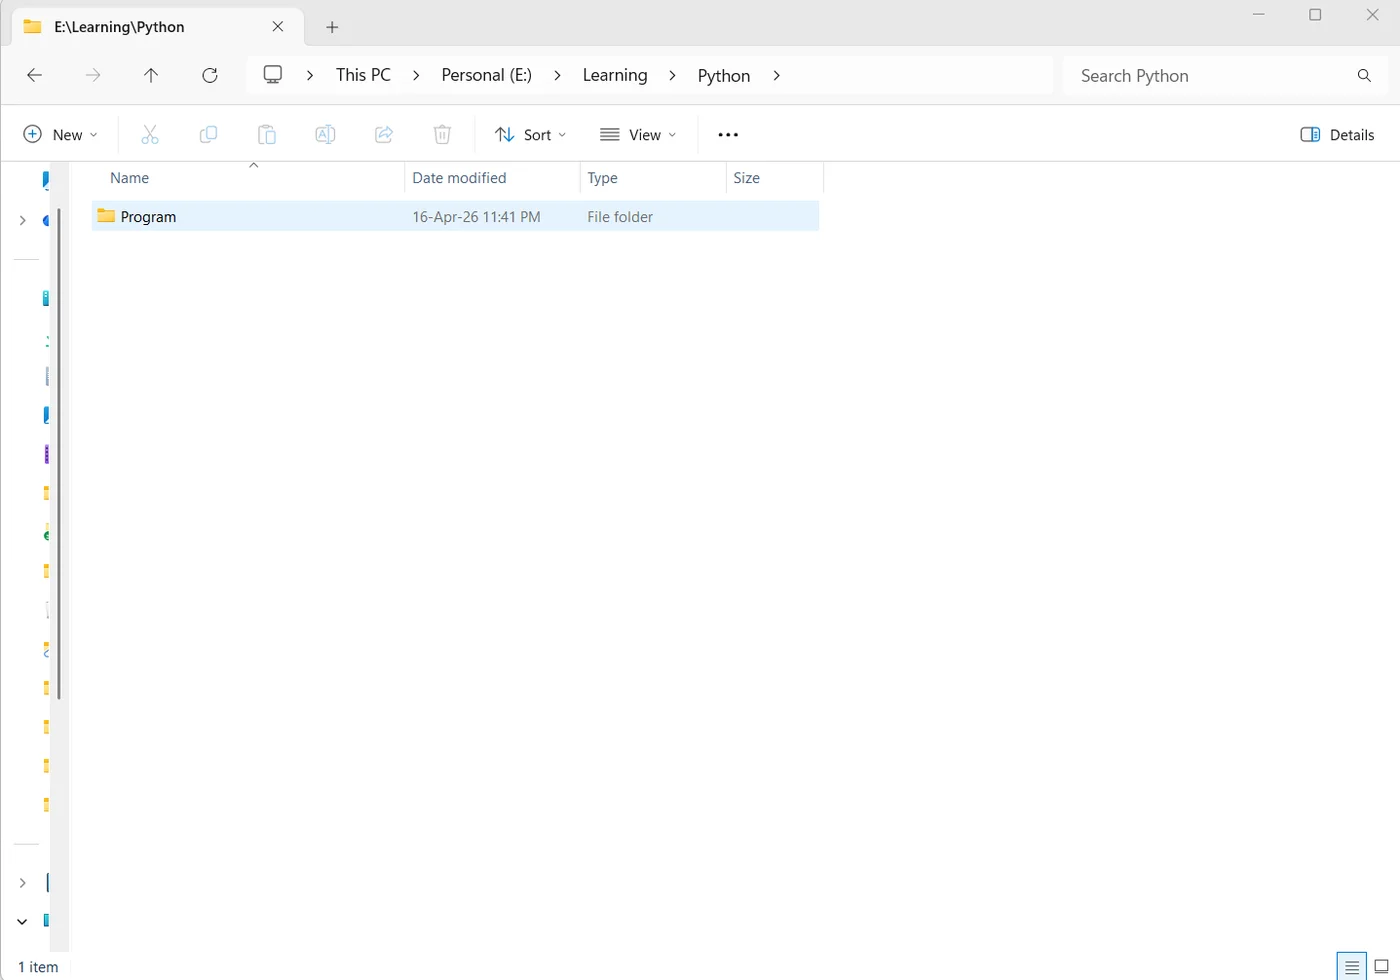
Step 4 — Create a project folder
Create a folder for this mini project. Keeping everything in one place makes cleanup easier (PyInstaller will create build/ and dist/ folders next to your script).
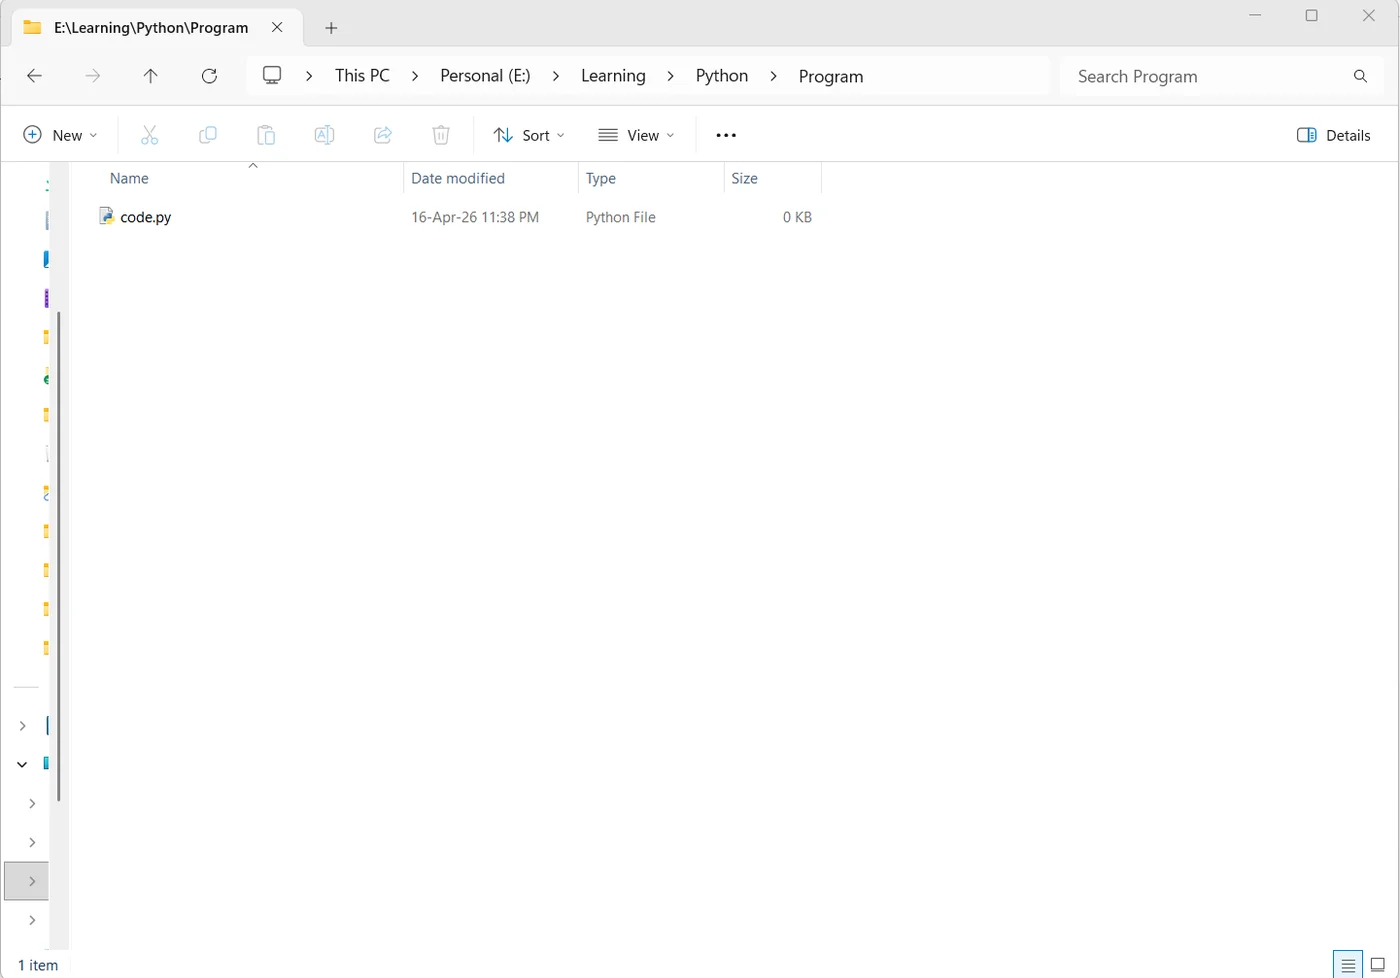
Step 5 — Create a .py file (your actual program)
Create a new text file and name it something like main.py.
Important: the file extension must be .py, not .txt. If Windows hides extensions, turn on “File name extensions” in File Explorer so you can see it.
You can edit the file with Notepad to keep things simple:
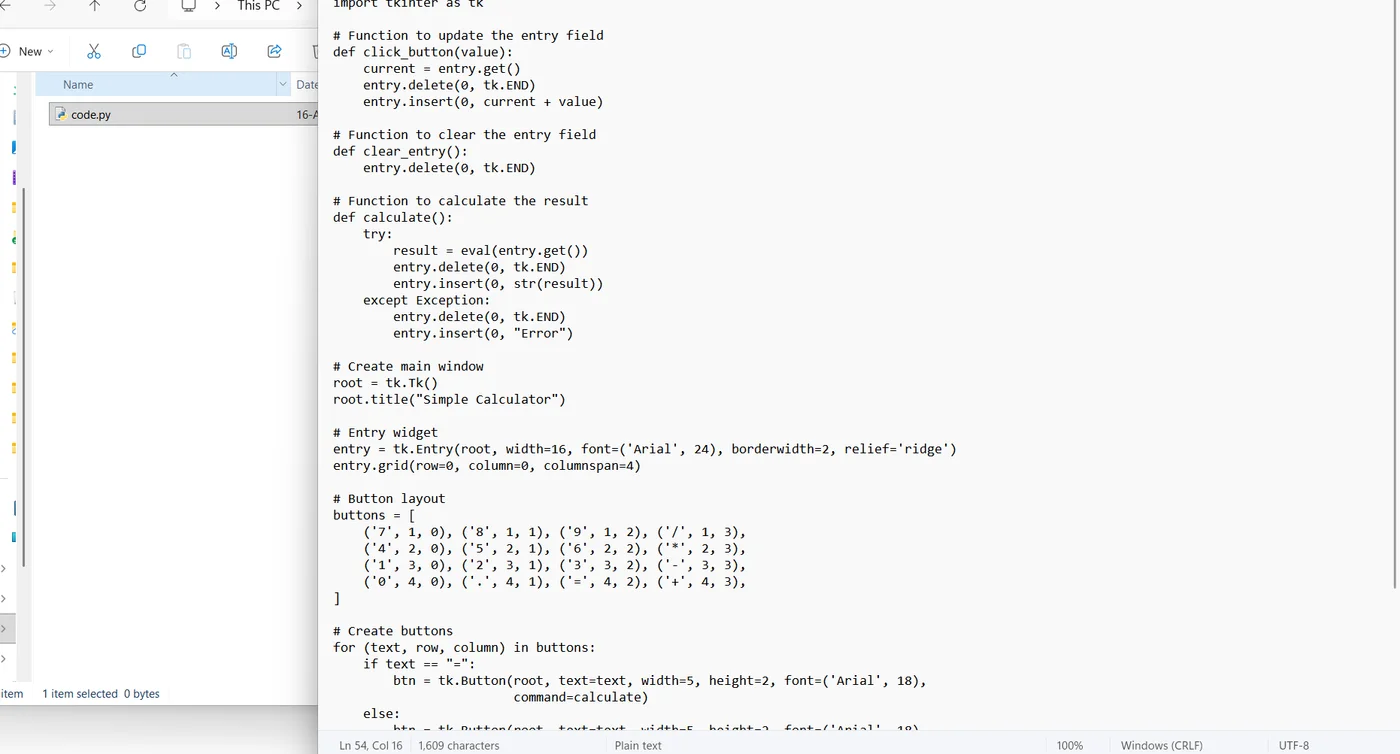
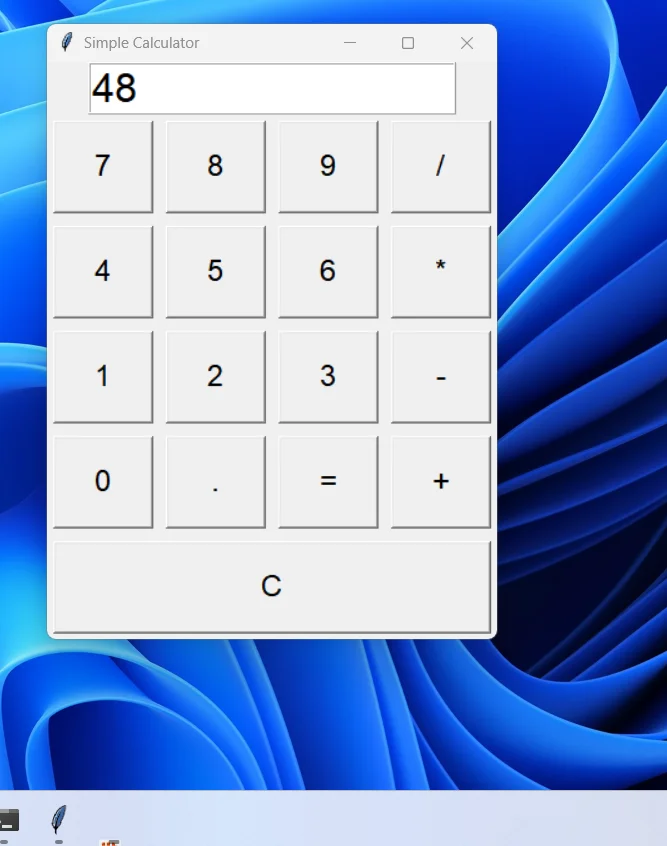
Example script you can paste (simple calculator)
Here is a small interactive calculator you can use for testing. Save it as main.py:
def main() -> None:
    print("Mini calculator (type q to quit)")
    while True:
        raw = input("Expression: ").strip()
        if raw.lower() in {"q", "quit", "exit"}:
            print("Goodbye!")
            return
        try:
            value = eval(compile(raw, "<input>", "eval"))
            print("Result:", value)
        except Exception as exc:
            print("Error:", exc)


if __name__ == "__main__":
    main()
This example uses eval only for learning. For real apps, you would parse input safely—but for learning PyInstaller packaging, it is convenient.
Optional: generate starter code with ChatGPT (or any assistant)
If you prefer, you can paste requirements into an AI assistant and copy the resulting code—just read the code before you run it, and never run anything you do not understand on sensitive machines.

Step 6 — Install PyInstaller using pip
In Command Prompt, cd into your project folder (the folder that contains main.py).
Install PyInstaller:
python -m pip install --upgrade pip
python -m pip install pyinstaller
If python does not work, try:
py -m pip install --upgrade pip
py -m pip install pyinstaller
You should see a successful install message without errors.

Step 7 — Build your .exe with PyInstaller
Still in the same folder as main.py, run:
pyinstaller main.py
If pyinstaller is not found as a command, use the module form (often more reliable on Windows):
python -m PyInstaller main.py
or:
py -m PyInstaller main.py
What PyInstaller creates
After a successful run, you should see new folders next to your script:
build/— temporary build files (you can usually ignore this folder).dist/— this is what you ship. Your.exeis insidedist.
You may also see a .spec file (for example main.spec). Advanced users customize builds with this file; beginners can ignore it until needed.
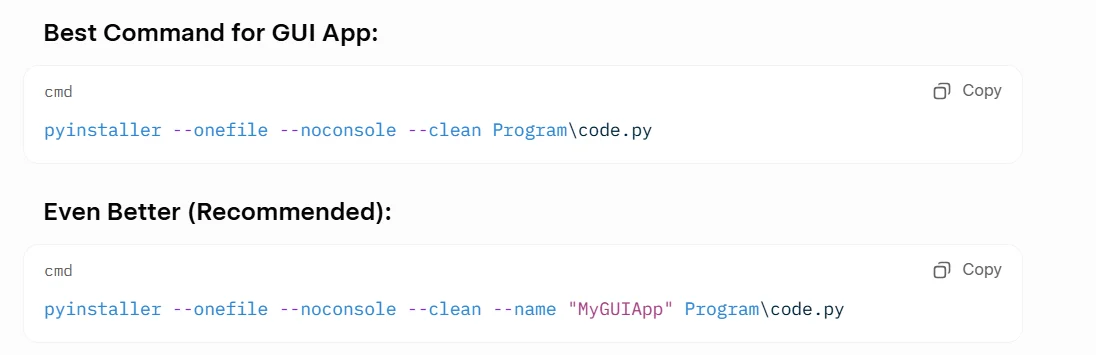
Step 8 — Useful PyInstaller options (one file vs one folder)
PyInstaller supports many flags. Two of the most common for beginners:
--onefile: bundles everything into a single.exe(easy to share; slower startup because it unpacks to a temp folder).--windowed/-w: for GUI apps that should not show a black console window (not needed for our calculator example, which is a console app).
To see more options on your machine:
pyinstaller --help
Example one-file build:
python -m PyInstaller --onefile main.py
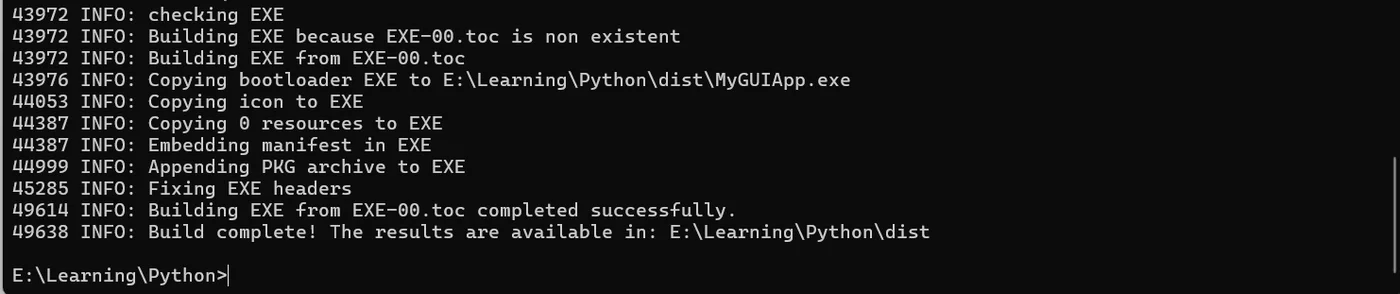
Step 9 — Confirm the build succeeded
When packaging works, the log ends with messages indicating completion and points you to dist.
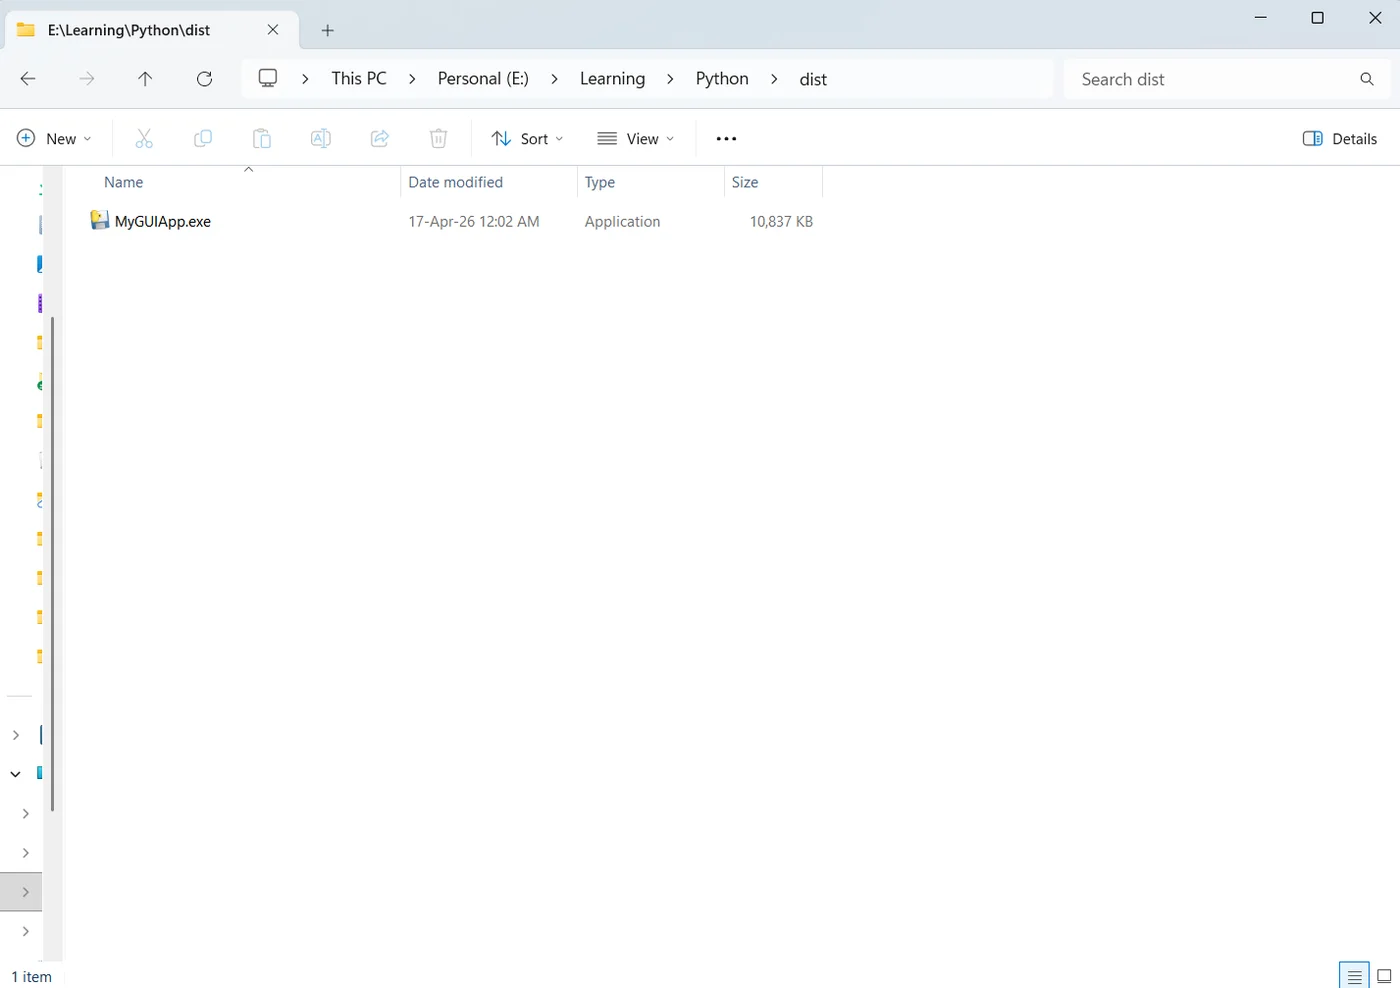
Step 10 — Find your .exe in dist
Open your project folder, then open dist. You should see your executable.
Step 11 — Run the .exe
Double-click the .exe like any normal Windows program.
If you packaged a console app (like the calculator), a console window should appear—this is expected.
Troubleshooting
python is not recognized
This is almost always PATH.
- Re-run the Python installer → Modify → enable Add Python to PATH.
- Close all terminals after installing, then open a new Command Prompt.
- Try
py --versioninstead ofpython --version.
pip is not recognized
Prefer:
python -m pip --version
or:
py -m pip --version
No module named PyInstaller
You installed into a different Python than the one you run.
- Check which interpreter you are using:
where python
where py
- Reinstall PyInstaller using the same command style you use to run Python (
python -m pip ...vspy -m pip ...).
The .exe triggers antivirus warnings
This is common for PyInstaller bundles. If you trust your own code:
- Add an exclusion/allowlist rule (carefully), or
- Share the
.exein a zip with a note, or - Consider code signing for serious distribution (advanced topic).
The program works with python main.py but not as .exe
Check:
- You are running the
distexecutable, not an old copy. - If you use data files or images, you may need extra PyInstaller flags (
--add-dataon Windows uses;as the separator). That is beyond this beginner guide—but the error message usually mentions missing files.
Frequently Asked Questions
How do I convert Python to EXE on Windows?
Install PyInstaller, open Command Prompt in your project folder, and run python -m PyInstaller --onefile main.py (or py -m PyInstaller --onefile main.py).
Does PyInstaller work on Windows?
Yes. PyInstaller supports Windows and can package Python scripts into executable files so users can run your app more easily.
Why is my Python EXE flagged by antivirus?
Some freshly generated PyInstaller executables can trigger false positives because they bundle the Python runtime. If you trust your code, test on a clean machine and consider allowlisting or code signing for real distribution.
Bonus: use a virtual environment next (recommended)
This tutorial intentionally skipped virtual environments to reduce moving parts. Once you are comfortable, the professional habit is:
python -m venv .venv
.\.venv\Scripts\activate
python -m pip install --upgrade pip
python -m pip install pyinstaller
python -m PyInstaller --onefile main.py
A venv keeps your project dependencies isolated so you never accidentally pip install the wrong package into the wrong Python.
Where to go next on GameFuntastic
- Browse more reads in Articles.
- Try a quick utility in Tools or a fun random tool in Generators.
If you want a follow-up article, good next topics are --onefile tradeoffs, shipping icons, or bundling data files with --add-data on Windows.